Dyeing your disc golf discs is a fantastic way to add personal flair and distinguish your gear from others on the course.
It’s not just about the style; a custom disc can also become easier to spot during play.
Whether you’re looking to showcase your artistic side or simply want to have a set of discs that reflects your personality, the process of disc dyeing is accessible and enjoyable.
Starting with a white disc is recommended for beginners since lighter plastics absorb dyes with greater ease.
You can work with colored discs as well, but be prepared for the possibility of the original color influencing the final outcome.
The variety of techniques available, from simple dip-dyeing to intricate stencil work, means that there’s a method to suit every skill level.
When it comes to selecting your materials, the right dye is crucial for a vibrant and lasting finish.
Some popular methods use everyday household items like shaving cream, hair conditioner mixed with synthetic fiber dye, or specialized disc golf dyes.
As you prepare to transform your discs, remember that the right technique can turn a plain disc into a work of art that stands out on the fairway.
Understanding Disc Golf Disc Plastics
When you’re choosing a disc golf disc, the type of plastic it’s made from is a crucial factor.
Each plastic type has unique characteristics that affect the flight and grip of the disc.
Here’s a brief breakdown to help you get acquainted with the different plastics:
- Base plastics: These are typically the least expensive and provide a good grip, even in wet conditions. However, they tend to wear faster than other types, affecting the disc’s performance over time.
- Premium plastics: These offer more durability and can retain their flight characteristics longer. They come in variants like Champion or Star plastics. Although they may have less grip than base plastics, their longevity is a significant advantage.
Plastic Types
- DX Plastic: It’s affordable and has excellent grip but wears quickly.
- Pro Plastic: A step up in durability from base plastics with improved grip.
- Champion Plastic: Known for its transparency and high durability.
- Star Plastic: Combines durability and grip, popular for its performance.
| Plastic Type | Durability | Grip Level | Cost |
|---|---|---|---|
| DX | Low | High | $ |
| Pro | Medium | High | $$ |
| Champion | High | Medium | $$$ |
| Star | High | High | $$$ |
Remember, the right plastic disc for you depends on your personal preference and playing style.
While premium plastics like Star might be more of an investment initially, their ability to withstand the elements might save you money in the long run.
Take time to feel the different plastics in your hand to determine what suits your grip best.
Preparing Your Disc and Work Area
Before diving into the creative process of dyeing your disc golf discs, it’s crucial to set the stage properly.
Selecting the Right Discs
Not all disc golf discs are suitable for dyeing. The best candidates are discs made from premium plastics, as they absorb dye more effectively than basic plastic types.
Start with a white disc; it will display the dyes most vibrantly. Colored discs can also be used, but keep in mind that existing colors may alter the outcome of your dye.
Cleaning the Disc
A clean disc is essential for an even dye application.
Begin by washing your disc with warm, soapy water to remove dirt, oils, and residues.
It’s imperative to dry your disc thoroughly with paper towels.
For any remaining stubborn spots, gently wipe the area with acetone using a cotton ball. Remember to don gloves to protect your hands during this process.
Setting Up Your Workspace
Creating a designated workspace is vital for a successful and mess-free dyeing project.
Lay out newspaper or a plastic sheet to cover your area and avoid staining.
Assemble all your materials, including plastic cups for dye mixing, gloves for hand protection, and additional paper towels for quick clean-ups.
Ensure this space is well-ventilated to avoid inhaling fumes from dyes or chemicals.
Dyeing Methods and Techniques
When you set out to add a personal touch to your disc golf discs, selecting the right dyeing method is crucial.
Each method offers a unique way to apply colors and patterns, ranging from basic designs to intricate artwork.
Direct Application Technique
This traditional approach involves applying dye directly to the disc with tools like sponges, brushes, or droppers.
It’s good for simple, bold designs and allows you to control where the colors are placed.
Remember to use dye that is appropriate for the plastic of your disc to ensure vibrant and lasting colors.
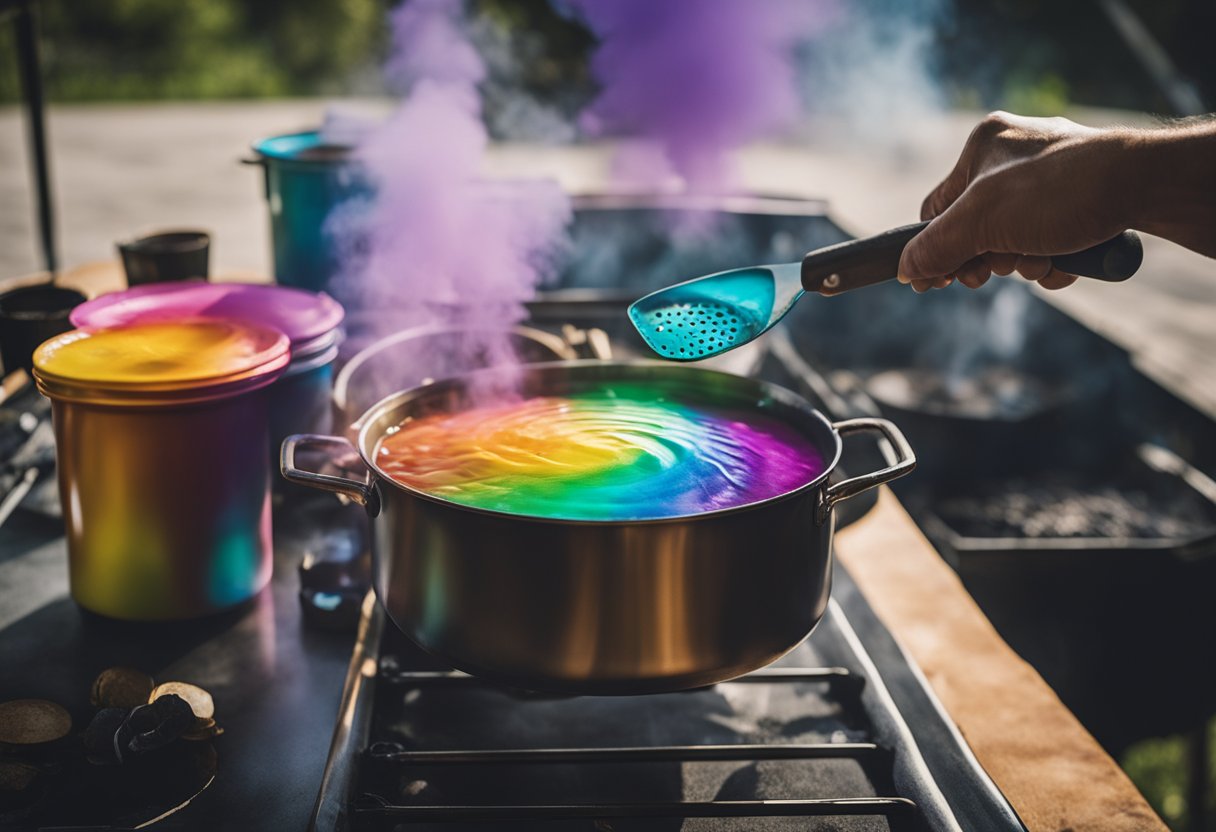
Shaving Cream Method
The Shaving Cream Method offers a fun and easy way to achieve a marble or watercolor effect.
Spread shaving cream into a tray, dribble dyes on top, and swirl with a tool.
Press your disc face down into the mixture, and after a set time, rinse it off to reveal your design.
Stenciling Technique
For precision and replicability, the Stencil Dye approach is excellent.
Place a stencil on your disc, apply the dye, remove the stencil, and there you have it – a sharp, clean design.
Vinyl or adhesive paper works well for creating durable stencils.
Ice Dye Technique
Ice Dye Technique creates a unique crystalline, burst of color effect.
Position your disc in a tub, cover it with ice, then sprinkle powdered dye on top.
As the ice melts, it carries the dye onto the disc’s surface, producing intricate patterns.
Spin Dye Technique
To add a dynamic spiral to your disc, try the Spin Dye Technique.
You’ll spin the disc on a rotating surface while applying dyes. The centrifugal force creates the mesmerizing designs, which can be as simple or complex as your skills allow.
Finishing Touches and Care
After meticulously applying your dyes, it’s important to ensure the longevity and vibrancy of your design.
Rinsing and Drying
Once the dyeing process is complete, carefully rinse your disc under cool running water to remove any excess dye.
It’s vital that you don’t let the dye sit for too long, as it can affect the disc’s texture.
Gently pat the disc dry with soft cloths to avoid smudging your design.
For best results, allow your disc to air dry completely before using it; this could take several hours.
- Rinse the disc thoroughly to remove all excess dye
- Pat dry gently, do not rub
- Leave to air dry for several hours; avoid using heat as it can warp the disc
Maintaining the Design
Your disc now bears your personal touch, and to keep it as vibrant as the day you dyed it, some maintenance is needed.
When cleaning, use a mild soap and avoid abrasive materials that can scratch the disc.
Showcase your creations on platforms like Instagram to share with the community and inspire others with your work.
Here’s a quick list to maintain that freshly-dyed look:
- Clean with mild soap and water after playing
- Avoid abrasive materials that can damage the design
- Share with the community on platforms such as Instagram
Frequently Asked Questions
In this section, you’ll find answers to common queries about the colorization process for your discs, ensuring vibrant, lasting results that stand out on the course.
What is the best technique for dyeing disc golf discs?
For starters, white discs are preferred as they absorb dyes the best, allowing for more vivid designs.
You might consider the shaving cream method for an easy approach or use professional dye and a spin dye machine for intricate patterns.
Can you achieve tie-dye effects on disc golf discs, and how?
Yes, you can create tie-dye effects on your discs. The shaving cream method is quite popular for producing abstract, tie-dye-like patterns, with the cream serving as a medium to apply the dyes.
What are the steps to using a stencil for disc golf disc dyeing?
To use a stencil, you’ll need to adhere the stencil securely to the disc, apply a dye in your chosen method, then carefully remove the stencil after the dye has set. This technique can create detailed and custom designs on your discs.
Is it possible to dye disc golf discs using shaving cream?
Absolutely, the shaving cream method is not only possible but also quite popular for its ease and the unique patterns it produces. These patterns resemble abstract art or tie-dye styles.
How can I dye my disc golf discs a solid black color?
Achieving a solid black color requires a concentrated dye and a longer soaking time to ensure the disc absorbs the dye fully. Make sure to check the disc periodically as it soaks to achieve the deep black shade you desire.
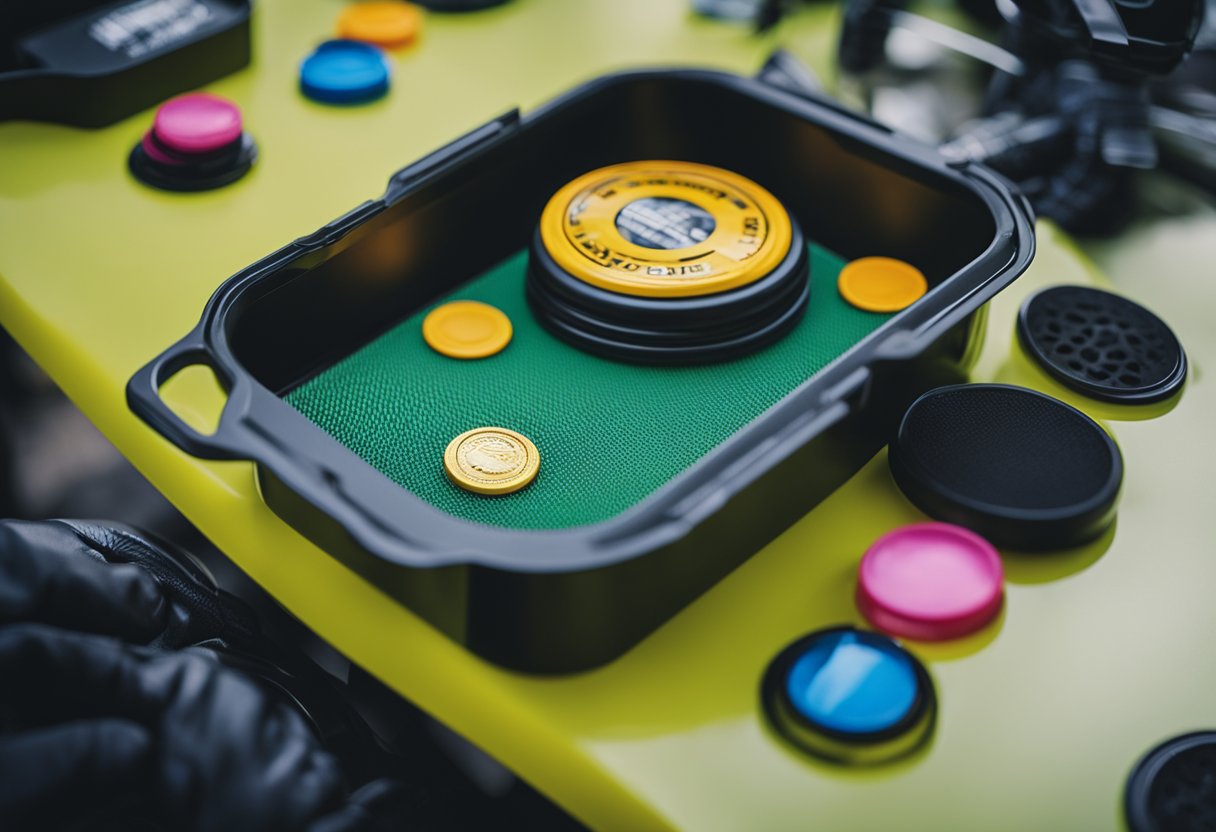
What materials are needed for a disc golf dyeing kit?
A basic dyeing kit should include white discs for best results, professional dye meant for plastics, a spin dye machine or a pan for the shaving cream method, stencils for patterning, and protective gear for safety.
For detailed projects, tools like sponges, syringes, or brushes might be useful.
Coming Soon
Explode Your Disc golf Skills
- Drills To Improve Your Game
- Fitness & Power Tips To Give You The Edge
- Insider Secrets